Tip: Are you a non-native English speaker? I have just finished creating a
  Web App
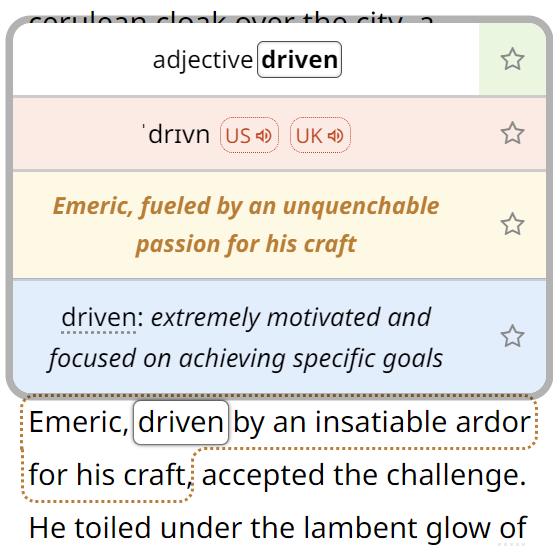
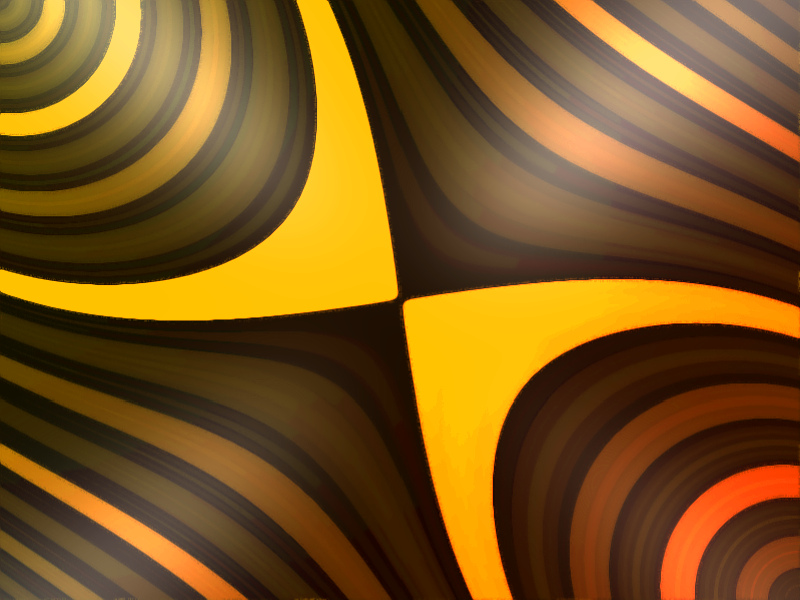
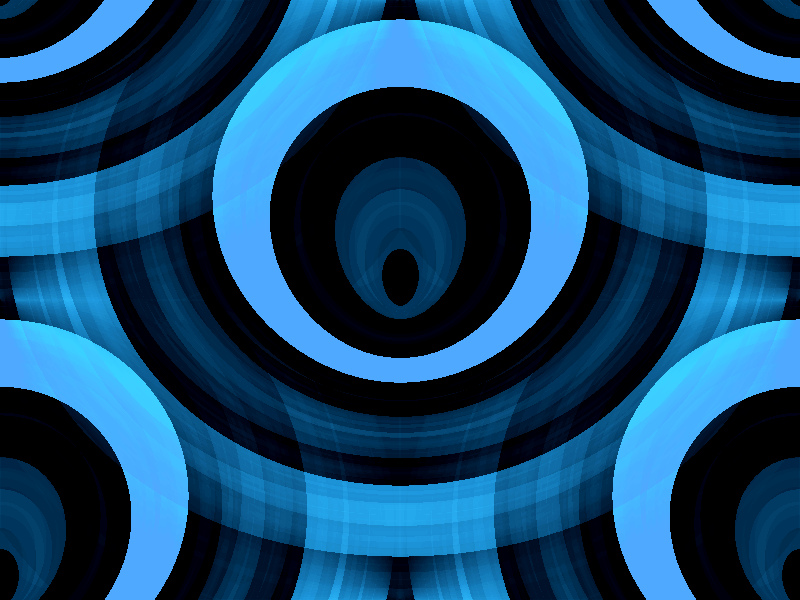
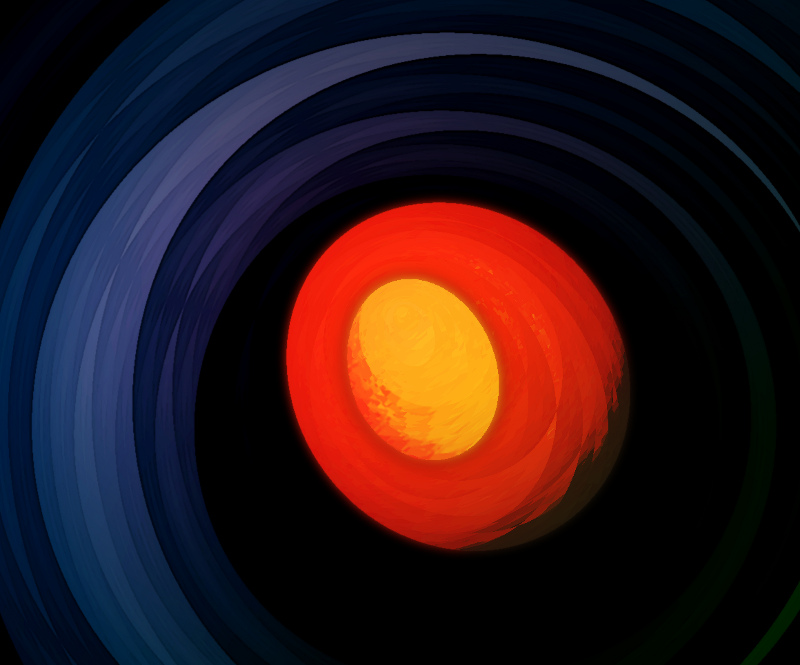
When I was around thirteen, I created a program called Random Image that could be used to create pictures partly generated by random processes. The program itself wasn’t very interesting, but there was one specific technique related to the methods of drawing in Delphi that could be used to create images similar to those below (I discovered this technique accidentally and did not understand well the underlying principle). A few years later I decided to return to the idea and created a software that allows me to generate such images in a few seconds.
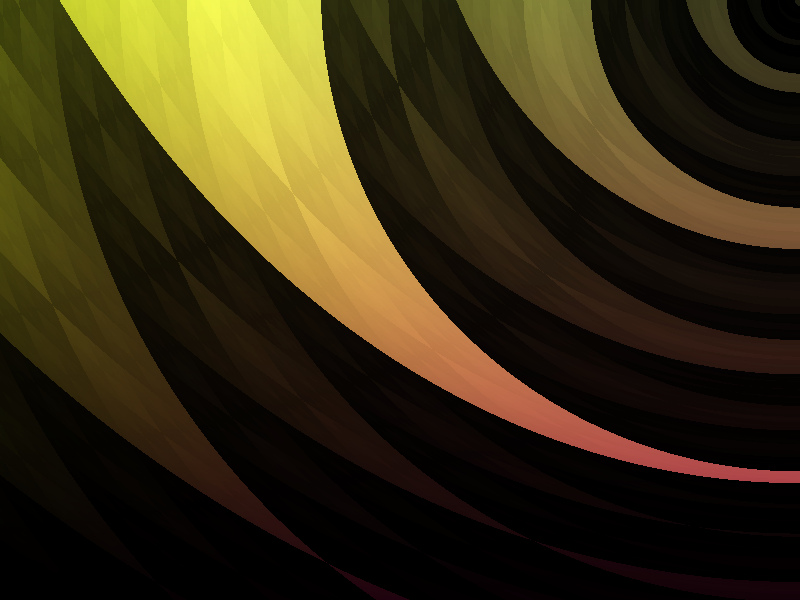
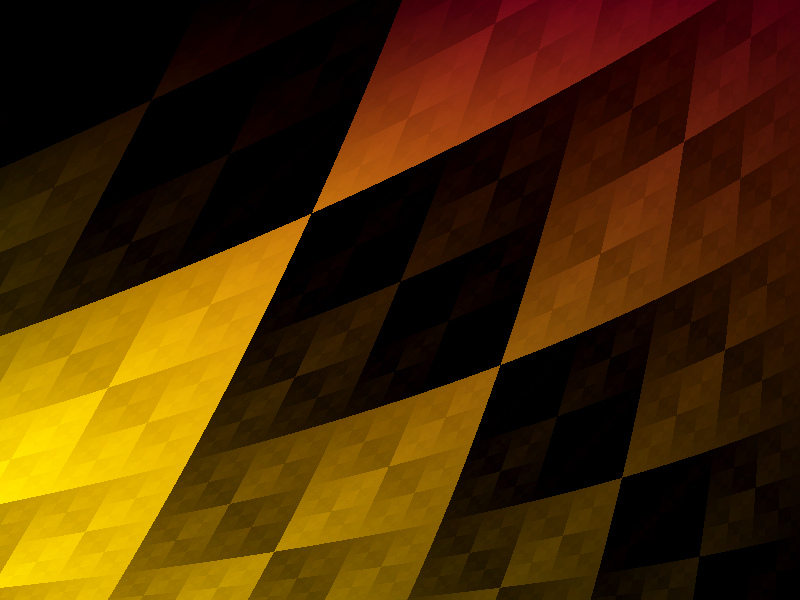

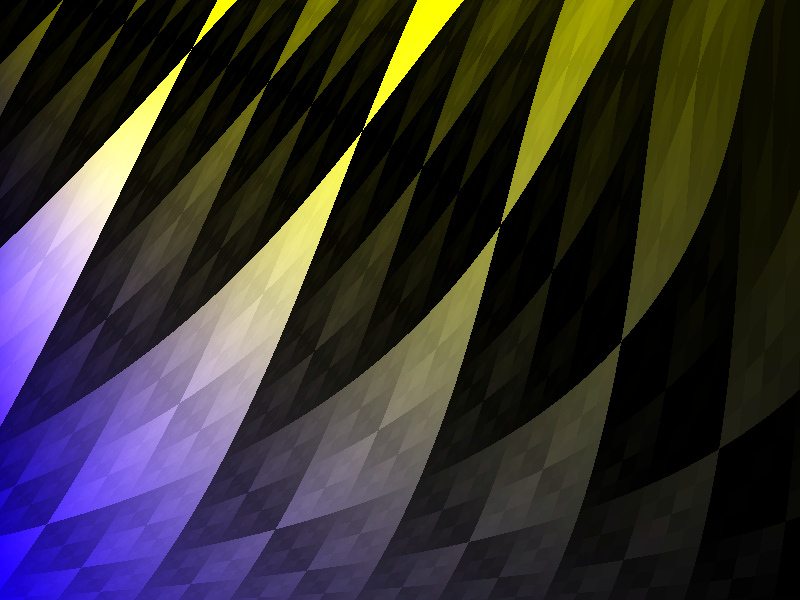
The images have an interesting 3D quality that would be very hard to achieve using other methods and could be used as unusual wallpapers or for similar purposes. However, most importantly, they can be used as a basis for further modifications. Here are some examples created by applying a few filters in GIMP to the images similar to those above:

The algorithm


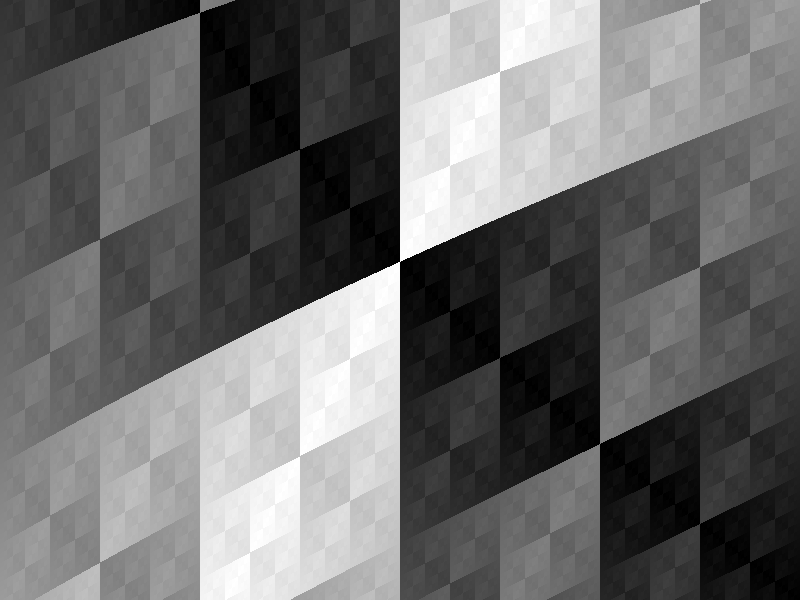
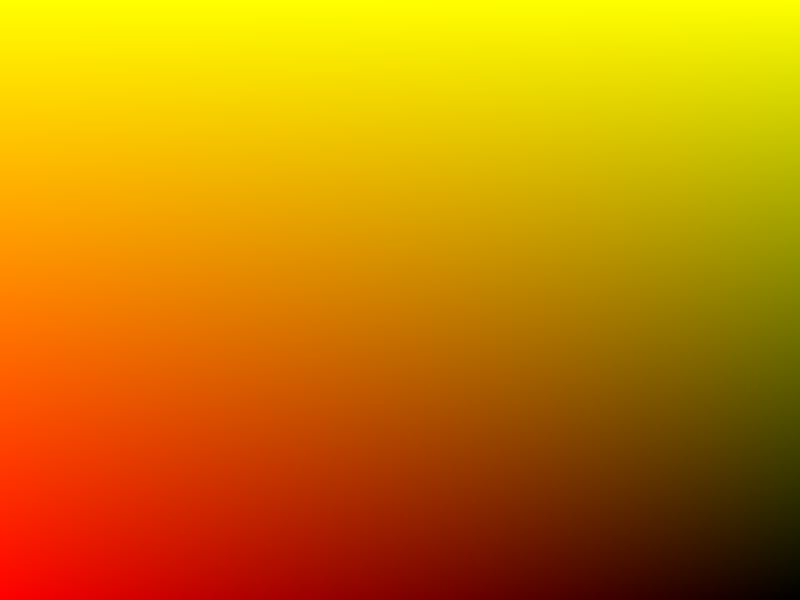
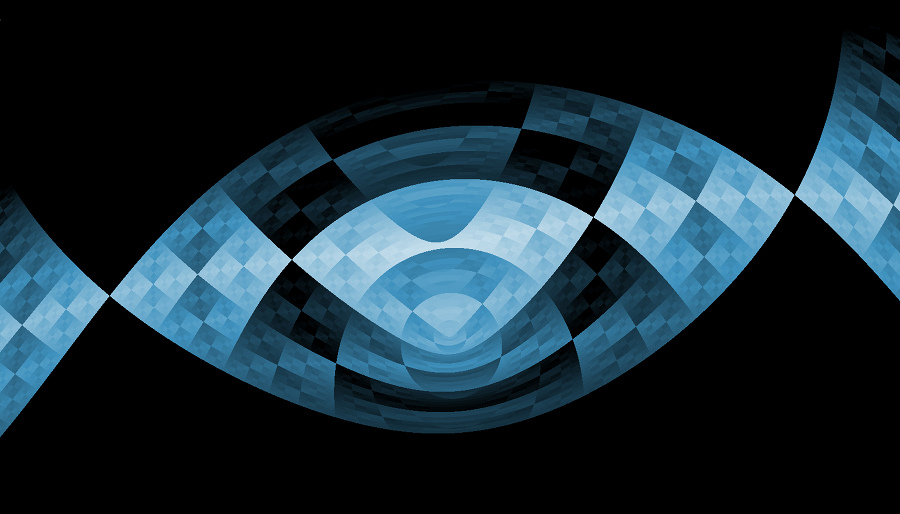
The principle is quite simple. It is necessary to generate two gradients, like the two you can see on the right. The more curved the gradients are, the more interesting the resulting pattern can be (“curved” gradients can be easily achieved by mixing several linear and/or circular gradients going from opaque white to transparent).
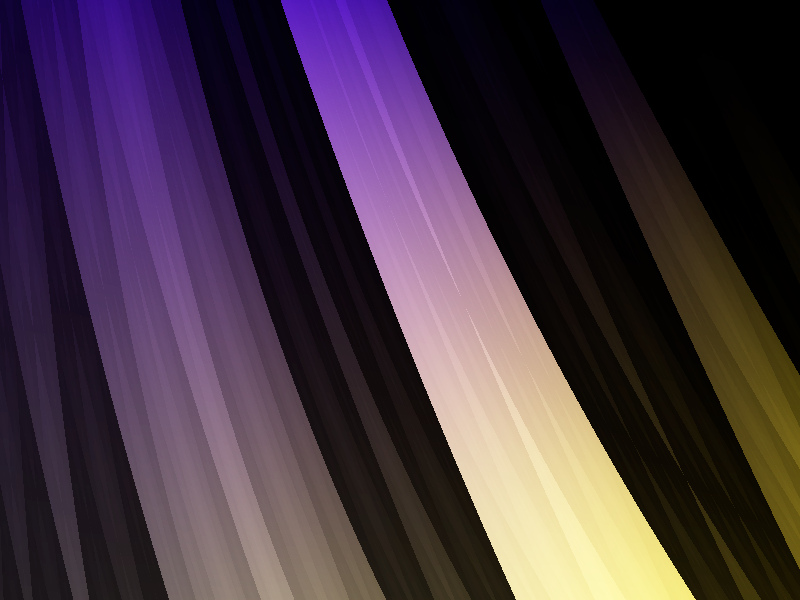
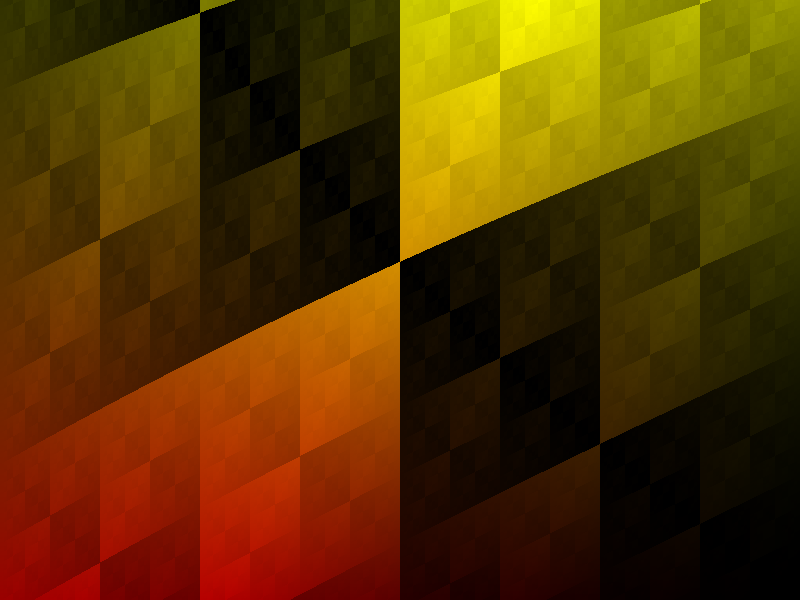
Once you have two such gradients, the main idea comes: you just xor them. By xoring I mean that you go pixel after pixel and xor the white value in one gradient with the one in the other, which produces an image similar to the third one on the right. However, there’s a catch. Standardly, there’s only 256 levels of luminosity, so there are no smooth gradients larger than 256x256 px (the resulting xored image would be distorted). For this reason, one either has to work with 16 bit colours, or represent the gradients as an array of 16 bit numbers, xor them and then draw the pixels as the corresponding value div 256.
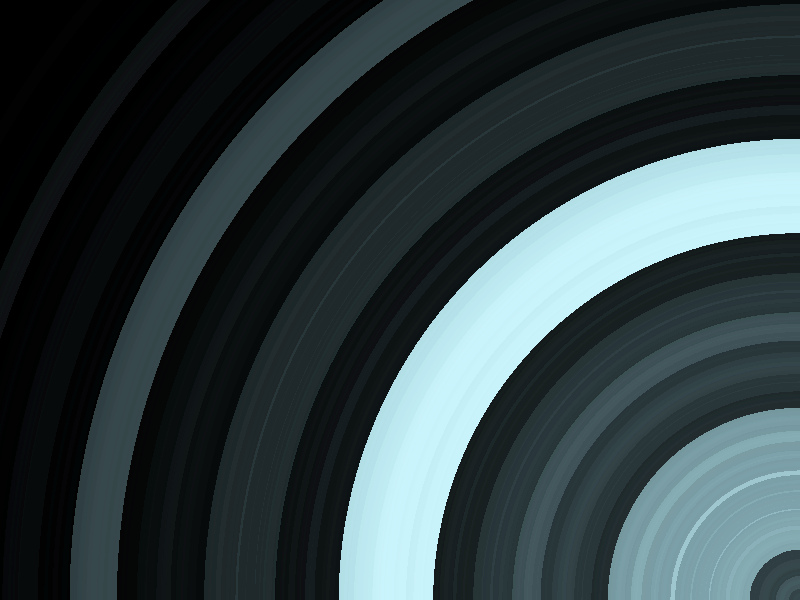
Finally, to make the image more interesting, we will add some colours. What I do is that I colorize the two gradients using some saturated colors and then merge them, which results in an image like the fourth one on the right. Then, these colours are used instead of white in the third image which results in the last image on the right. The advantage of this coloring method is that the coloring copies well the “3D” structure of the xored image.
The software
The images you can find on this page were generated by a simple program I have created. It is written using Lazarus; here you can find the source code and the linux binaries (32bit). (I am sorry, no Windows binaries yet.)
The software consists of two windows, one with the image and one with the controls. The controls are used to generate gradients (the upper slide bar tell you how opaque should the first gradient be, the other how opaque should the second gradient be). The checkboxes indicate whether the gradient should be used (the more there are, the slower the software is). Colour buttons below it indicate how to colorize the gradient, as described in the algorithm description. The two buttons below generate random colours and random gradients.
The radio boxes indicate which one of the five images should be drawn. You can also select size; the program is quite slow, so it might be necessary to set the settings in the lowest resolution and, when it looks good, select a higher resolution to generate the larger image. There is no anti-aliasing; to create smooth images, you can create an image in larger resolution and resample it.